Installing stub ends for lap joint flanges requires precision and attention to detail to ensure a secure and leak-free connection. In this comprehensive guide, we'll walk you through the step-by-step process of installing stub ends and lap joint flanges correctly. By following these instructions, you can guarantee the reliability and sealing integrity of your pipe connections.
Step 1: Gather the Necessary Tools and Materials
Before you begin the installation process, make sure you have all the required tools and materials on hand. This includes:
l Stub ends and lap joint flanges of appropriate sizes
l Gaskets suitable for the application
l Bolts and nuts
l Torque wrench
l Pipe lubricant
l Wrenches or spanners
l Safety equipment such as gloves and goggles

Step 2: Prepare the Pipe Ends
Start by cleaning and preparing the pipe ends where the stub ends will be installed. Ensure that the pipe ends are free of dirt, debris, and any contaminants that could compromise the sealing integrity of the connection. Use a wire brush or emery cloth to remove any corrosion or oxidation from the pipe surface.
Step 3: Insert the Stub Ends
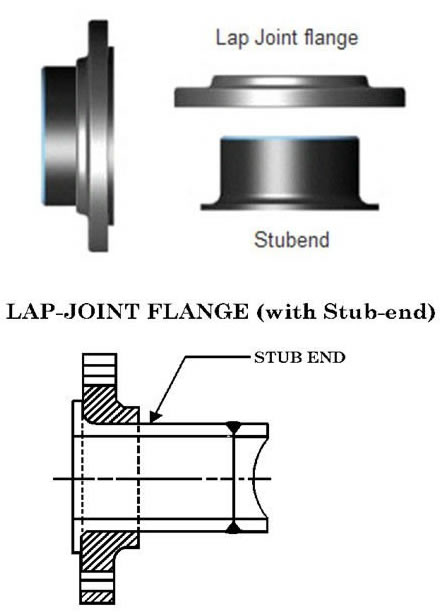
Slide the stub ends onto the pipe ends, ensuring that they are positioned correctly and securely. The length of the stub end should be sufficient to accommodate the lap joint flange and gasket assembly. Make sure that the stub ends are aligned properly with the pipe ends to prevent misalignment during installation.
Step 4: Install the Gaskets
Place the appropriate gaskets between the stub ends and lap joint flanges. Ensure that the gaskets are centered and properly seated to provide an effective seal. Use gaskets made from suitable materials compatible with the fluid or gas being transported through the pipeline.
Step 5: Position the Lap Joint Flanges
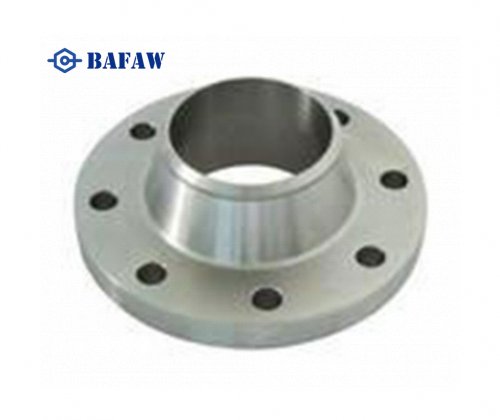
Position the lap joint flanges over the stub ends and align them with the pipe ends. Make sure that the flange bolt holes are properly aligned with the bolt holes on the stub ends. Use alignment tools or shims if necessary to achieve proper alignment and ensure a tight fit.

Step 6: Insert Bolts and Nuts
Insert bolts through the bolt holes on the lap joint flanges and stub ends, securing them in place with nuts. Tighten the bolts evenly and gradually in a crisscross pattern to ensure uniform compression of the gaskets and prevent distortion of the flange faces. Use a torque wrench to tighten the bolts to the specified torque values recommended by the flange manufacturer.

Step 7: Check for Leaks
Once the bolts are tightened to the correct torque, visually inspect the connection for any signs of leakage. Perform a leak test by pressurizing the pipeline and applying a soap solution to the joint area. If bubbles form, indicating a leak, carefully retighten the bolts as necessary until the leakage stops.
Step 8: Final Inspection and Testing
After completing the installation, perform a final inspection of the entire connection to ensure that all components are properly installed and secured. Verify that the bolts are tightened to the specified torque and that there are no visible signs of damage or misalignment. Conduct any additional testing or inspections required by applicable regulations or industry standards.

Proper installation of stub ends for lap joint flanges is essential to ensure the reliability and sealing integrity of pipeline connections. By following this step-by-step guide, you can confidently install stub ends and lap joint flanges according to best practices and industry standards. If you have any questions or need assistance with your installation, feel free to contact us for expert advice and support.


